
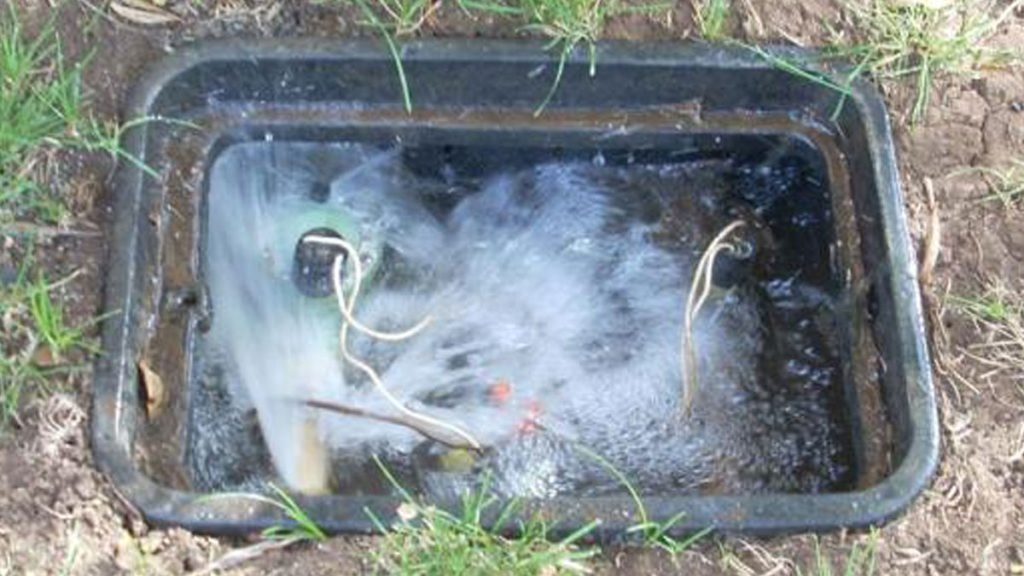
When a sprinkler system stops working correctly, replacing the first suspicious part is usually the expensive way to troubleshoot. A better approach is to narrow the failure from the controller outward until the electrical, hydraulic or coverage problem is isolated.
This 12-point framework reflects the way residential irrigation problems can be organized during diagnosis. Not every service call requires every test, but the sequence helps separate a bad head from a bad valve, a wiring fault from a controller problem, and a pressure issue from an underground leak.
1. Define the symptom
Is one head affected, one zone, several zones or the entire system? Does the problem happen every time or only intermittently? The pattern immediately changes what should be tested next.
2. Verify controller power, date and schedule
A controller can look normal while the date, start times, rain delay or seasonal settings prevent expected watering. Manual station operation is useful because it removes most schedule variables.
3. Check rain-sensor or weather-skip status
A sensor in bypass mode, a failed sensor or a smart-controller weather skip can explain why a programmed cycle did not run. Controller status should be confirmed before digging.
4. Confirm irrigation water supply
If every zone is weak or dead, verify the irrigation shutoff and any system-specific supply components before assuming multiple valves failed at once.
5. Consider the master valve or pump
Systems that use a master valve or irrigation pump add another control point. A failure there can affect every downstream zone.
6. Test station output
If one zone will not start, controller voltage at the station and common terminals helps determine whether the command is leaving the controller.
7. Follow the field wire and common
Normal output at the controller but no signal at the valve points toward field wiring, a splice or the common conductor. Several failed zones can make the shared common especially important.
8. Test the solenoid and valve
A valve may fail electrically, become restricted by debris or remain open because of a diaphragm or bleed problem. Manual valve behavior helps separate electrical and hydraulic causes.
9. Inspect heads and nozzles
Broken bodies, clogged nozzles, low heads, tilted sprinklers and incorrect arcs can create dry areas even when the zone has adequate pressure.
10. Compare pressure across the zone
Strong performance near the valve with weaker heads downstream can indicate a leak, restriction or excessive flow demand. Uniform weakness may point back toward the valve or supply.
11. Walk the lateral line for leak evidence
Look for bubbling water, soft soil, unusually wet areas or water surfacing away from a sprinkler head. Water can travel through disturbed soil, so the wettest point is not always directly above the break.
12. Run the repaired zone again
A repair is not complete until the affected zone is operated again. Coverage, shutoff, pressure and nearby heads should be checked so the original symptom is actually resolved.
Why this process matters
A diagnostic framework reduces guesswork. It also explains why a “controller problem” can actually be a field-wire failure, why a “bad sprinkler head” can be a zone-pressure problem, and why adding runtime does not fix poor coverage.
For related troubleshooting, see controller running but no water, solenoid versus wiring problems, one zone with low pressure, and underground leak signs.
Authoritative resources
EPA WaterSense recommends regular irrigation inspections for leaks, broken or clogged heads and other water-wasting problems. Rain Bird also publishes a controller and valve troubleshooting library for electrical and valve diagnosis.
Need professional troubleshooting in Grosse Pointe? Call or text (313) 992-9900 or visit our sprinkler repair services.